The Lemon Car Story
LEMONS INTO LEMONADE

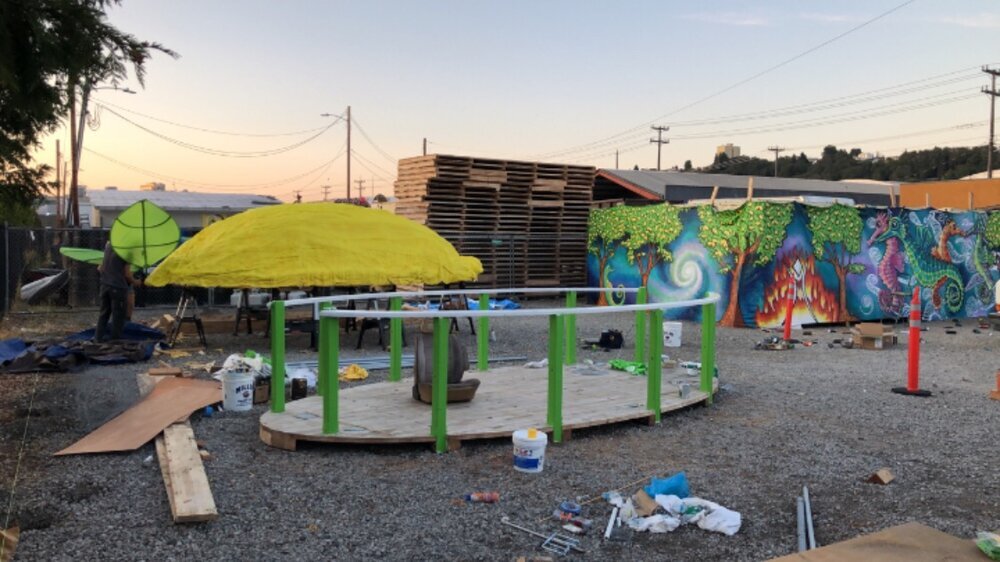
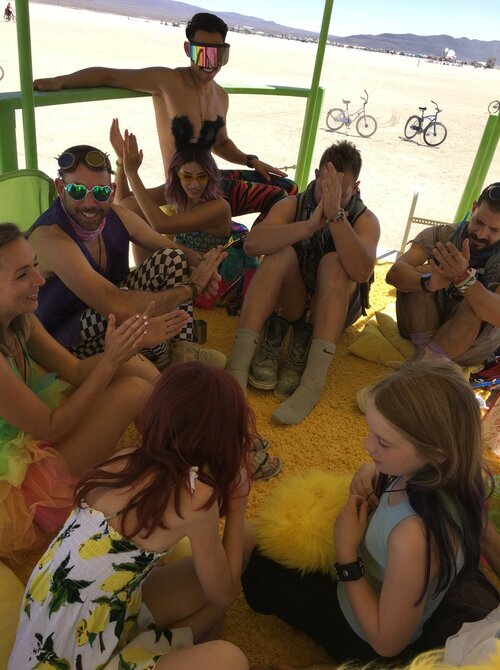
Our CEO, Harley, has attended Burning Man for 22 years. In 2018 he brought his daughter, then eight years old, with him. If you’ve been to Burning Man, you know it’s an amazingly safe and gloriously excellent place for kids. You also understand that an eight or 9-year-old still requires much care. So, Harley decided that one of the keys to a successful “Burn” would be an Art Car. Harley knew it wouldn’t be an easy task, but it would be worth it.
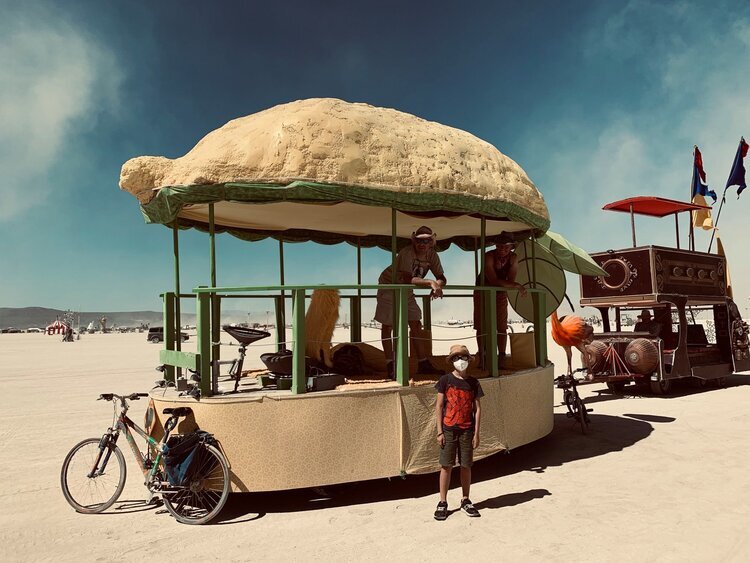
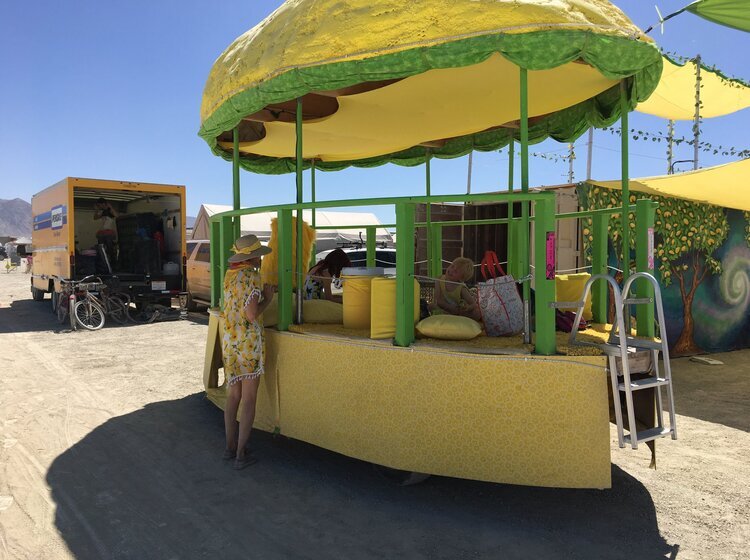
The vision of the car was pretty simple - a giant lemon that served as a multi-generational advice stand. Someone received cold lemonade and asked a question of a child, an elder, or a middle-aged person. While they sipped the lemonade, they could ponder the three different answers to their question.

But enough of that story, you’re here for the electric part.
The donor vehicle for the project was a 1985 VW Vanagon that had been rolled by a customer’s son and was not repairable. Our first step was to strip the entire van and salvage anything worth saving. From there, we had the naked chassis to begin to build.
Because the vehicle was going to Burning Man and not technically street-legal, we had a set of engineering decisions that were, in many ways, simpler. Typically, you’d consider a 96V or 144V motor, but it seemed like overkill and we ended up identifying a motor that closely mirrored the stock horsepower and torque rating of a Vanagon. We were most interested in torque as we figured this would be weighed down, and the max speed at Burning Man is 5mph. So, for this project we scaled it down a bit to an AC-34 motor running 48V.
The motor ships with its own controller and schematic, which actually wasn’t that hard to read for the team members who knew what they were doing. The controller essentially is the brain.
The next big decision was which batteries to use. This one was a bit of a wildcard for us. Factoring in the weird aerodynamics of what we were building and the fact that we weren’t going to exceed 5mph, but would be carrying a lot of weight and going from 0-5 a lot. We ended up settling on Model S Tesla batteries. While these are very expensive, they felt like the lowest risk choice. We sweated this detail a lot because there’s no easy way to charge your electric car at Burning Man. We were bringing a generator but had no idea how often we’d need to use it. The motor we chose ended up being a 48V motor which meant we could run 5 Tesla batteries in a 1S5P configuration giving us a total power yield of about 26kWh.
After choosing motor and battery, we had to figure out a few other systems - most importantly the brakes. With changing the stock configuration, we were losing hydraulic components of the system. We ended up buying a very simple “sand rail” brake pedal with an integrated brake booster, and kept this part very simple.
Finally, we had to mate the motor to the transmission. For this we used parts from EVWest including their transmission adapter. Although this was designed for an air cooled transmission and we were bolting it to a water cooled, it was fairly simple.
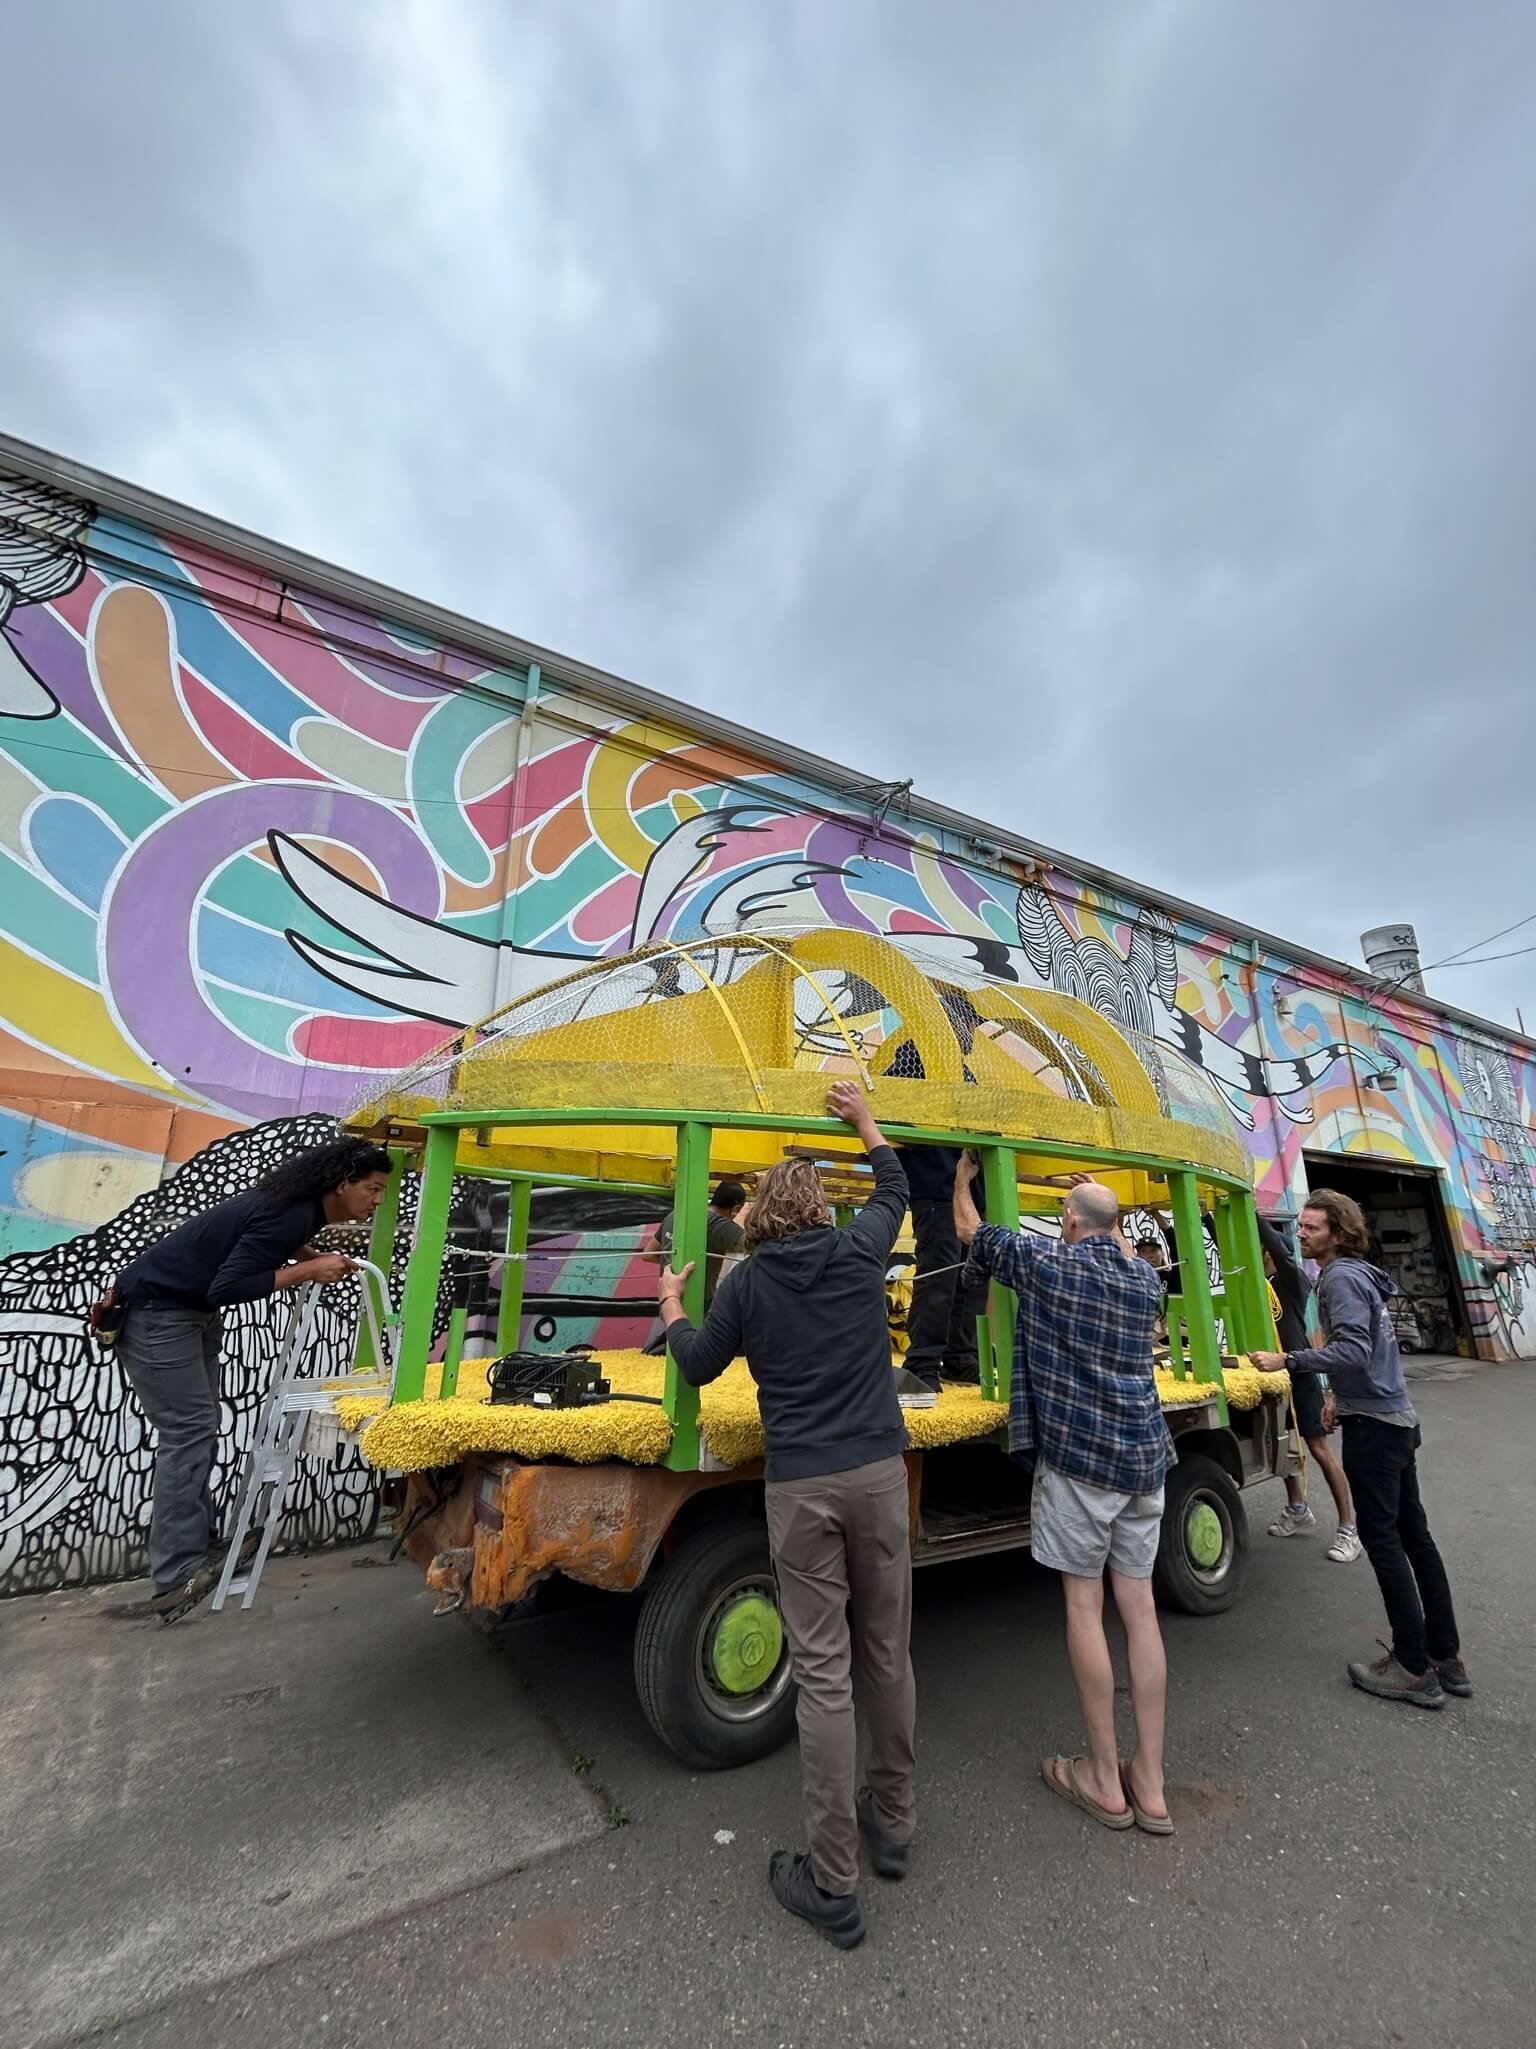
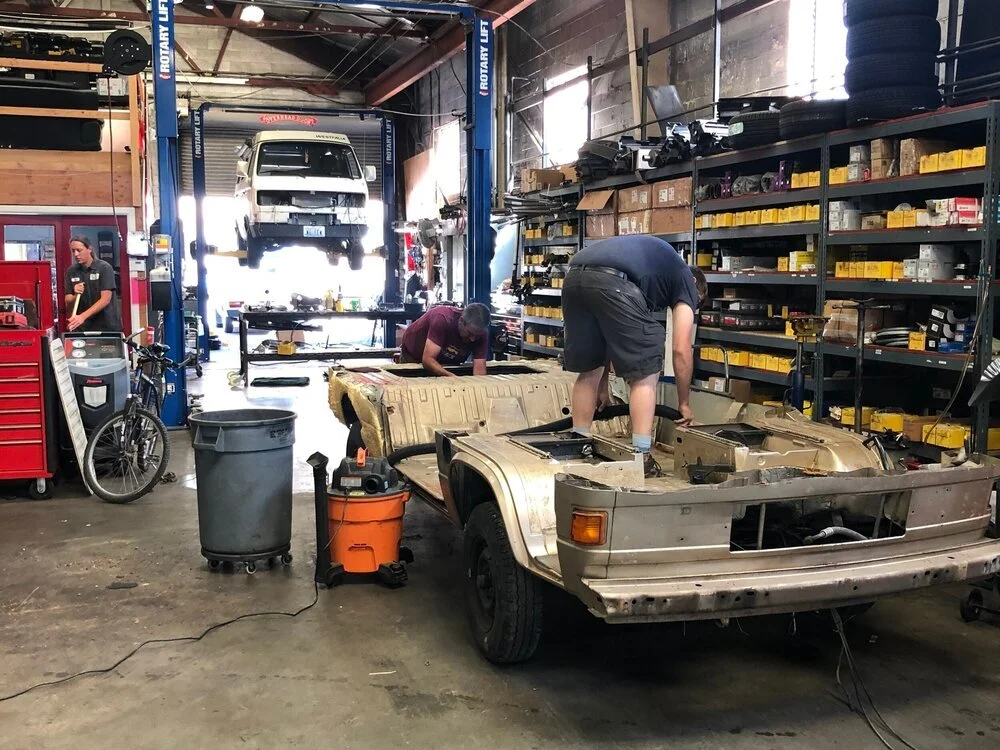
With the van torn apart and all the parts in hand, we set loose our two top technicians, Ben and Jason, to work on it with the clear direction to not stop until it moved.
Day 1:
We rolled it in.
The first day was spent cleaning everything up and stripping out final parts. Key questions we needed to answer were around mounting the motor. We made a decision to use the stock engine carrier bar and bolt that into the stock frame holes - this motor is several hundred pounds less than the stock motor. We had to make some major modifications to the carrier bar but after a few hours of fabricating, measuring, cutting and welding, we had something that was pretty nice.
While Ben was working with that, Jason was cataloging all our parts and figuring out if and how to cool the controller. Jason also started in on thinking about the steering, as we were changing the location of the wheel (related to the art car not the electric conversion).
Day 2:
By the middle of Day 2 we had things pretty well mocked up: mounting the motor, marrying it to the transmission and how the controller would mount and have wires run. There was some complexity and thinking around the batteries - how to mount them and run the wires. By the end of Day 2, we agreed on the approach for the batteries and the controller mounting.
These are the Model S Tesla batteries we used - 4 of them in a 1s4p configuration. We ended up re-using the wooden shipping box for this application - our production battery boxes will not be re-used shipping boxes, but for Burning Man … well, it was perfect.

Day 3:
After battery placement was settled, the rest of the pieces started to fall cleanly into place. Ben spent the bulk of Day 3 thinking through some ancillary systems and making sure we had parts fabricated as needed so nothing got held up. Specifically, we had to reroute the brakes and steering because of the art car requirements (nothing to do with the electric system). For braking we used a brake pedal with an integrated hydraulic booster which then very cleanly tied into the stock Vanagon braking system. Because we were moving the brake pedal, we had to create and run some new lines and think through the geometry of the new pedal location. Steering was simpler, but as we were moving the steering column there were things we then had to reroute.
At the end of Day 3, we felt good about the surrounding systems and were ready for a very productive day 4.

It took some clever geometry and welding to modify the stock engine carrier bar to support the motor.
Day 4:
Day 4 was spent putting into place the things we had mocked up. We started with the motor and the engine carrier bar which went right into place mated perfectly with the transmission. With the motor mounted, we began running the key wires and building looms to protect them. We were only using about 20% of the wire coming from the controller, so this was simpler than in other applications. As Ben ran the wires and built sub-harnesses, Jason began building the battery box then locating it. At that point, we decided to forgo a cooling system - this made us a bit nervous as Burning Man is known for it’s extreme temperatures, but the unit we had was not the correct fit for the controller and it would have required significant machine work to get it right. It definitely introduced a bit of risk, but we went for it (spoiler alert - temps never even got into a yellow zone). We did choose to place several fans in the battery box to keep some airflow.
At the end of Day 4, the batteries were in place and most of the wiring had been run from back to front.

A good shot of the controller and motor dry fit into the system
Day 5:
Day 5 was all about clean up. The system requires quite a bit of fuses, fuse holders, bracketry and other things that look quite simple but take time to get right. The upfront control units also needed to be mounted - with the wires run, we could start that process. By the end of this day, things were about 70% complete, and we were feeling cautiously optimistic.

Test mounting the integrated brake pedal and the accelerator pedal
Day 6:
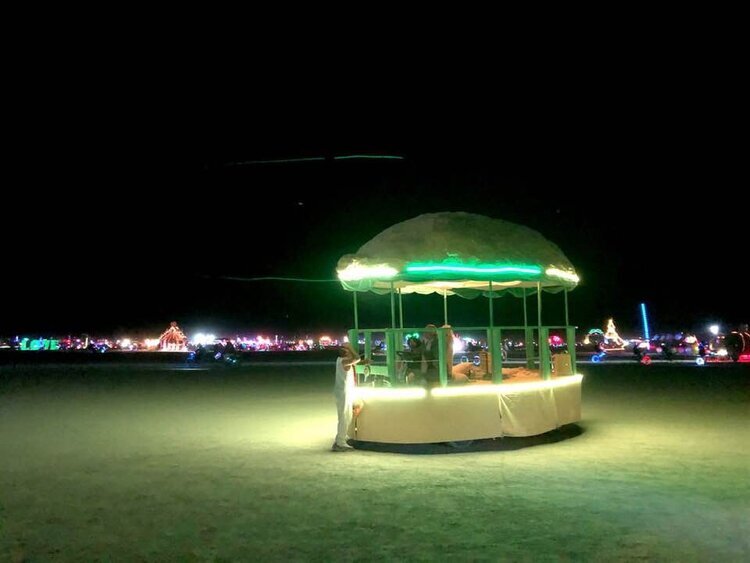
Day 6 was all about connecting final parts. We ran giant double ought wires from the Tesla batteries back to the controller. We made all other big and little connections throughout and double checked every bit of work. Out team spent a bit of time finalizing some brake and steering work as well. We also made the connections for charging and a few other accessory level pieces of work similar to that, including mounting the 3 100ah LiFEPO4 batteries we were using for lights and sound. We ended the day knowing tomorrow as the day!

Final connections
Day 7:
We spent the morning double checking everything and after a few hours, it was time to flip the switch. Ben had the honor of turning it on! The system controller unit cycled through its initial start up and seemed fine. We got into the interface and keyed in a few start up parameters provided by the motor manufacturer. With things seemingly fine, we pressed the petal and - oh wow - the wheels started spinning. We flipped the switch to Reverse, pressed the pedal and - yep - the wheels turned the other way. It worked!
The rest of the day was spent tightening things down and by 3pm, we were speeding up and down our alley, laughing like kids, and thrilled with what we had.

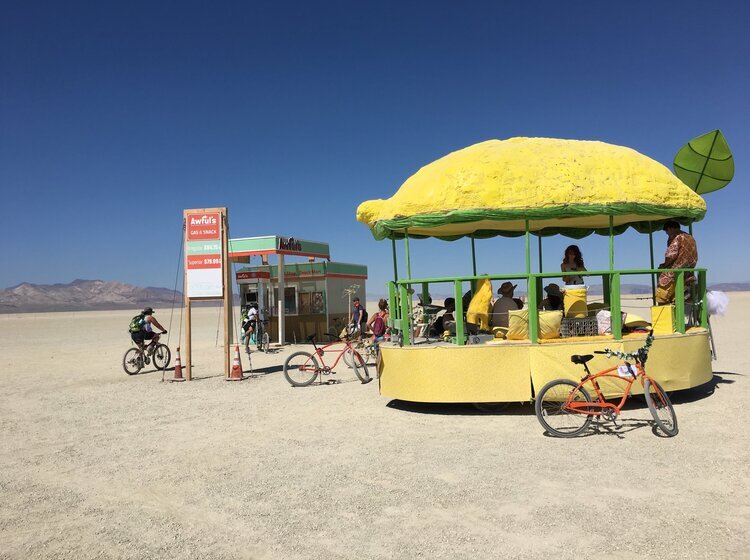
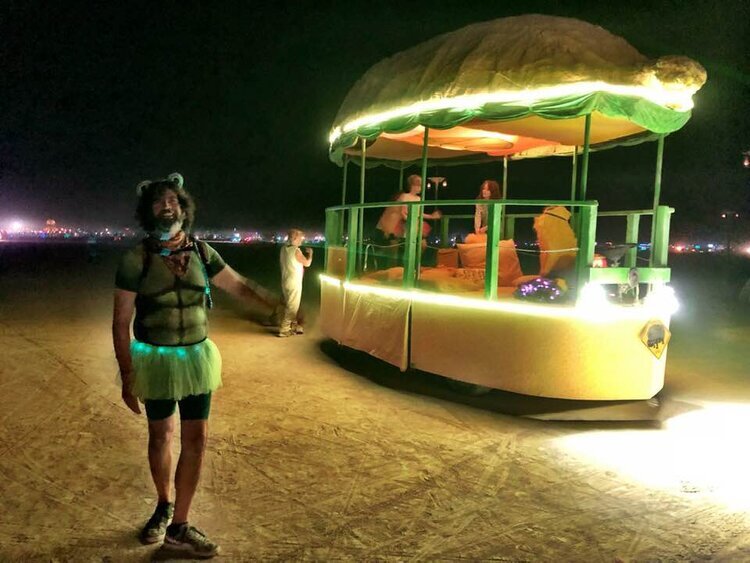
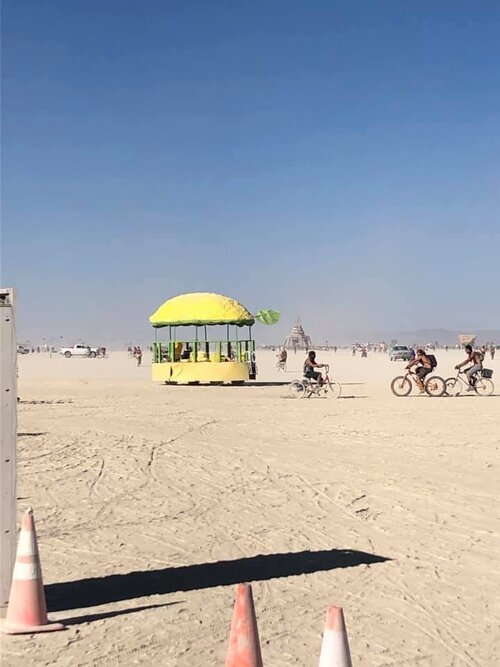
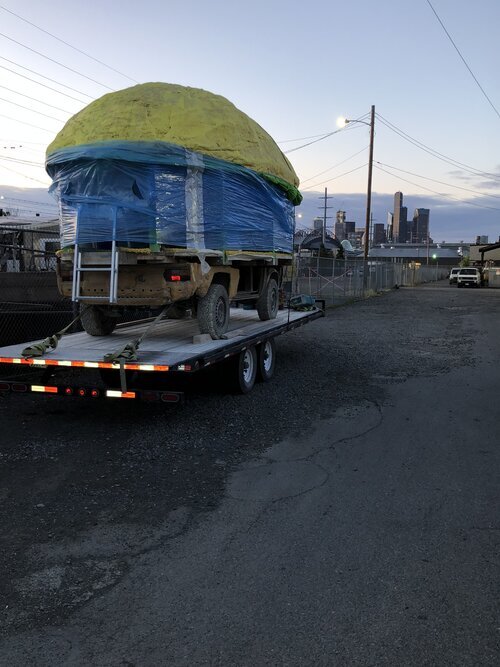
Days and Nights at Burning Man